Configure SSL for BI Hub Agents
BI Hub Agents will communicate with BI Hub Server and Web via REST API connection.
Before you begin#
You must have a proper SSL certificate (recommended) from the authorized vendor in .crt format and .key file.
You can also have a Self-Signed SSL certificate, but you need to make sure that the certificate belongs to a trusted certificate store by following the configuration steps provided by the particular browser (The steps are browser-specific and out of scope for this document).
Configuration#
Follow the below common steps to configure the REST connections from all the agents (except BOBJ agent) to https:
Open the
manager.inifile in edit mode with administrative privileges. The file is located in theC:\Program Files\Visual BI Solutions\VBI View\<installing agent name>location.Change the SSL property from False to True and save the file:
C:\Program Files\Visual BI Solutions\VBI View\<installing agent name>\manager.iniCopy and paste the SSL files to the SSL folder -
<Agent Installation Folder>/SSL.Rename the file
<your name>.crttopublic.crtand<your name>.keytoprivate.key.Go to Start > services.msc and restart the Agent Service Manager.
The service name will be
VBI<Agent name>SM. For example for Tableau agent, the service name will be VBITableauSM.Open the browser and type the url -
<https://Backend server url:<Agent Port Number>.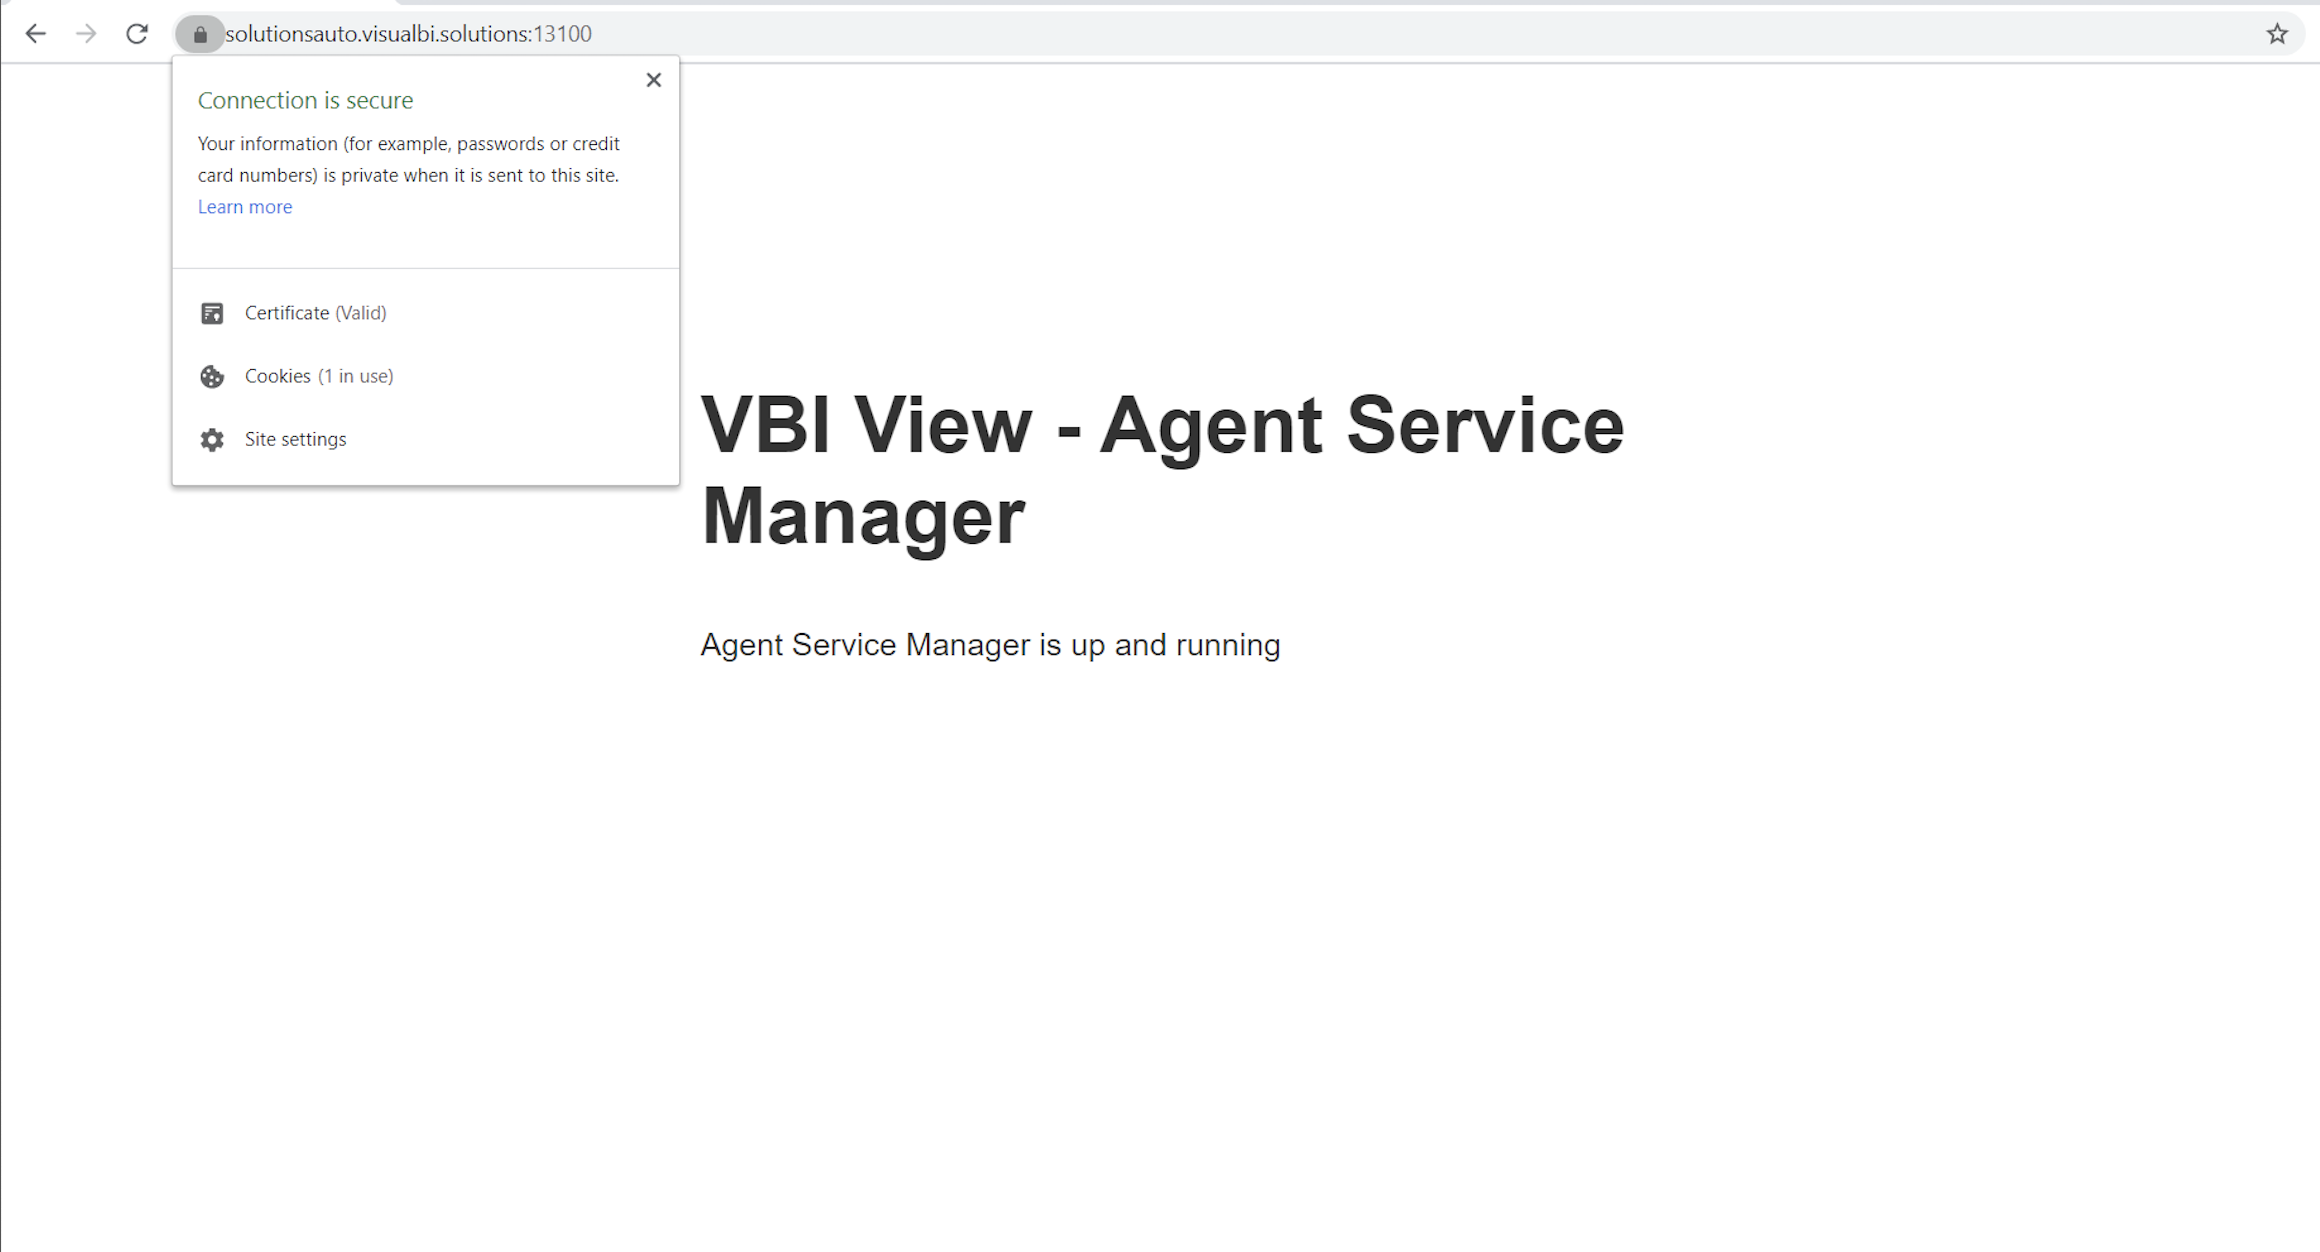
BI Hub Agent with secured SSL connection
✅ This loads up Agent Service Manager success screen with a secured SSL connection.
<Agent Port number>is the same that you entered while installing the Agents.
SSL Configuration for BOBJ Agent#
For BOBJ Agent, the SSL certificates also need to be in .jks (Java Key Store) format apart from .crt format.
Open manager.ini file in edit mode with administrative privileges.
In the SSL section, set
enable ssl = Trueand save the file.Copy and paste the SSL files to the SSL folder found in the
< BOBJ Instance installation location >/SSL.Rename the file
<your name>.crttopublic.crtand<your name>.keytoprivate.key.Import the SSL Certificate and key into the Java KeyStore.
Make sure that the Java KeyStore file is generated with the name BOBJ_Keystore.jks.
Move the BOBJ_Keystore.jks file to the SSL folder:
<BOBJ Instance installation location>/SSL.Enter an appropriate password of the generated KeyStore file in the SSL Password field in the
manager.inifile. ( This must be given after the SSL field ).Example :
SSL Password = passwordof the keystore.jksGo to Start > services.msc and restart the Agent Service Manager.
The service name will be BIHUBBOBJSM.
✅ SSL successfully configured for BOBJ Agent.