Installation of BI Hub Server
Following are the sequence of steps to install the BI Hub Server:
Double click the installer BIHubServer-X.X.X-windows-installer.exe file that you downloaded to start the installation process.
Click Next on the Startup Info page.
Read through the license terms and conditions. To proceed further accept the license terms and click next to continue.
In the next Component Selection screen:
- Select MySQL component to install the bundled MySql database
- Click Next to install your database.
In the Directory Selection screen, choose the directory to install the BI Hub Server. The default directory is
C:\Program Files\Visual BI Solutions\VBI View\VBIViewServer.In the next Message Queue screen, enter the Port number (default: 5672), Username, and Password to be used in BI Hub Server Configuration.
Select the preferred License activation step and click Next:
- Online Mode - Choose this option if this machine is connected to the internet. If this machine is behind the firewall, make sure to whitelist the URL https://products.visualbi.com. If the installer can reach the BI Hub activation server, then it will navigate to the next screen.
- Offline Mode - Choose this option if this machine is not connected to the internet. The license can be activated offline.
If Offline mode is chosen, continue with this step, else skip to Step 12. The next screen will give a unique activation key for this installation instance. Open https://products.visualbi.com/license-generator (Refer to the screenshot below) on another computer that has an internet connection. On that page, type the registered email address, the license key, and copy & paste the activation key generated into the Keycode box.
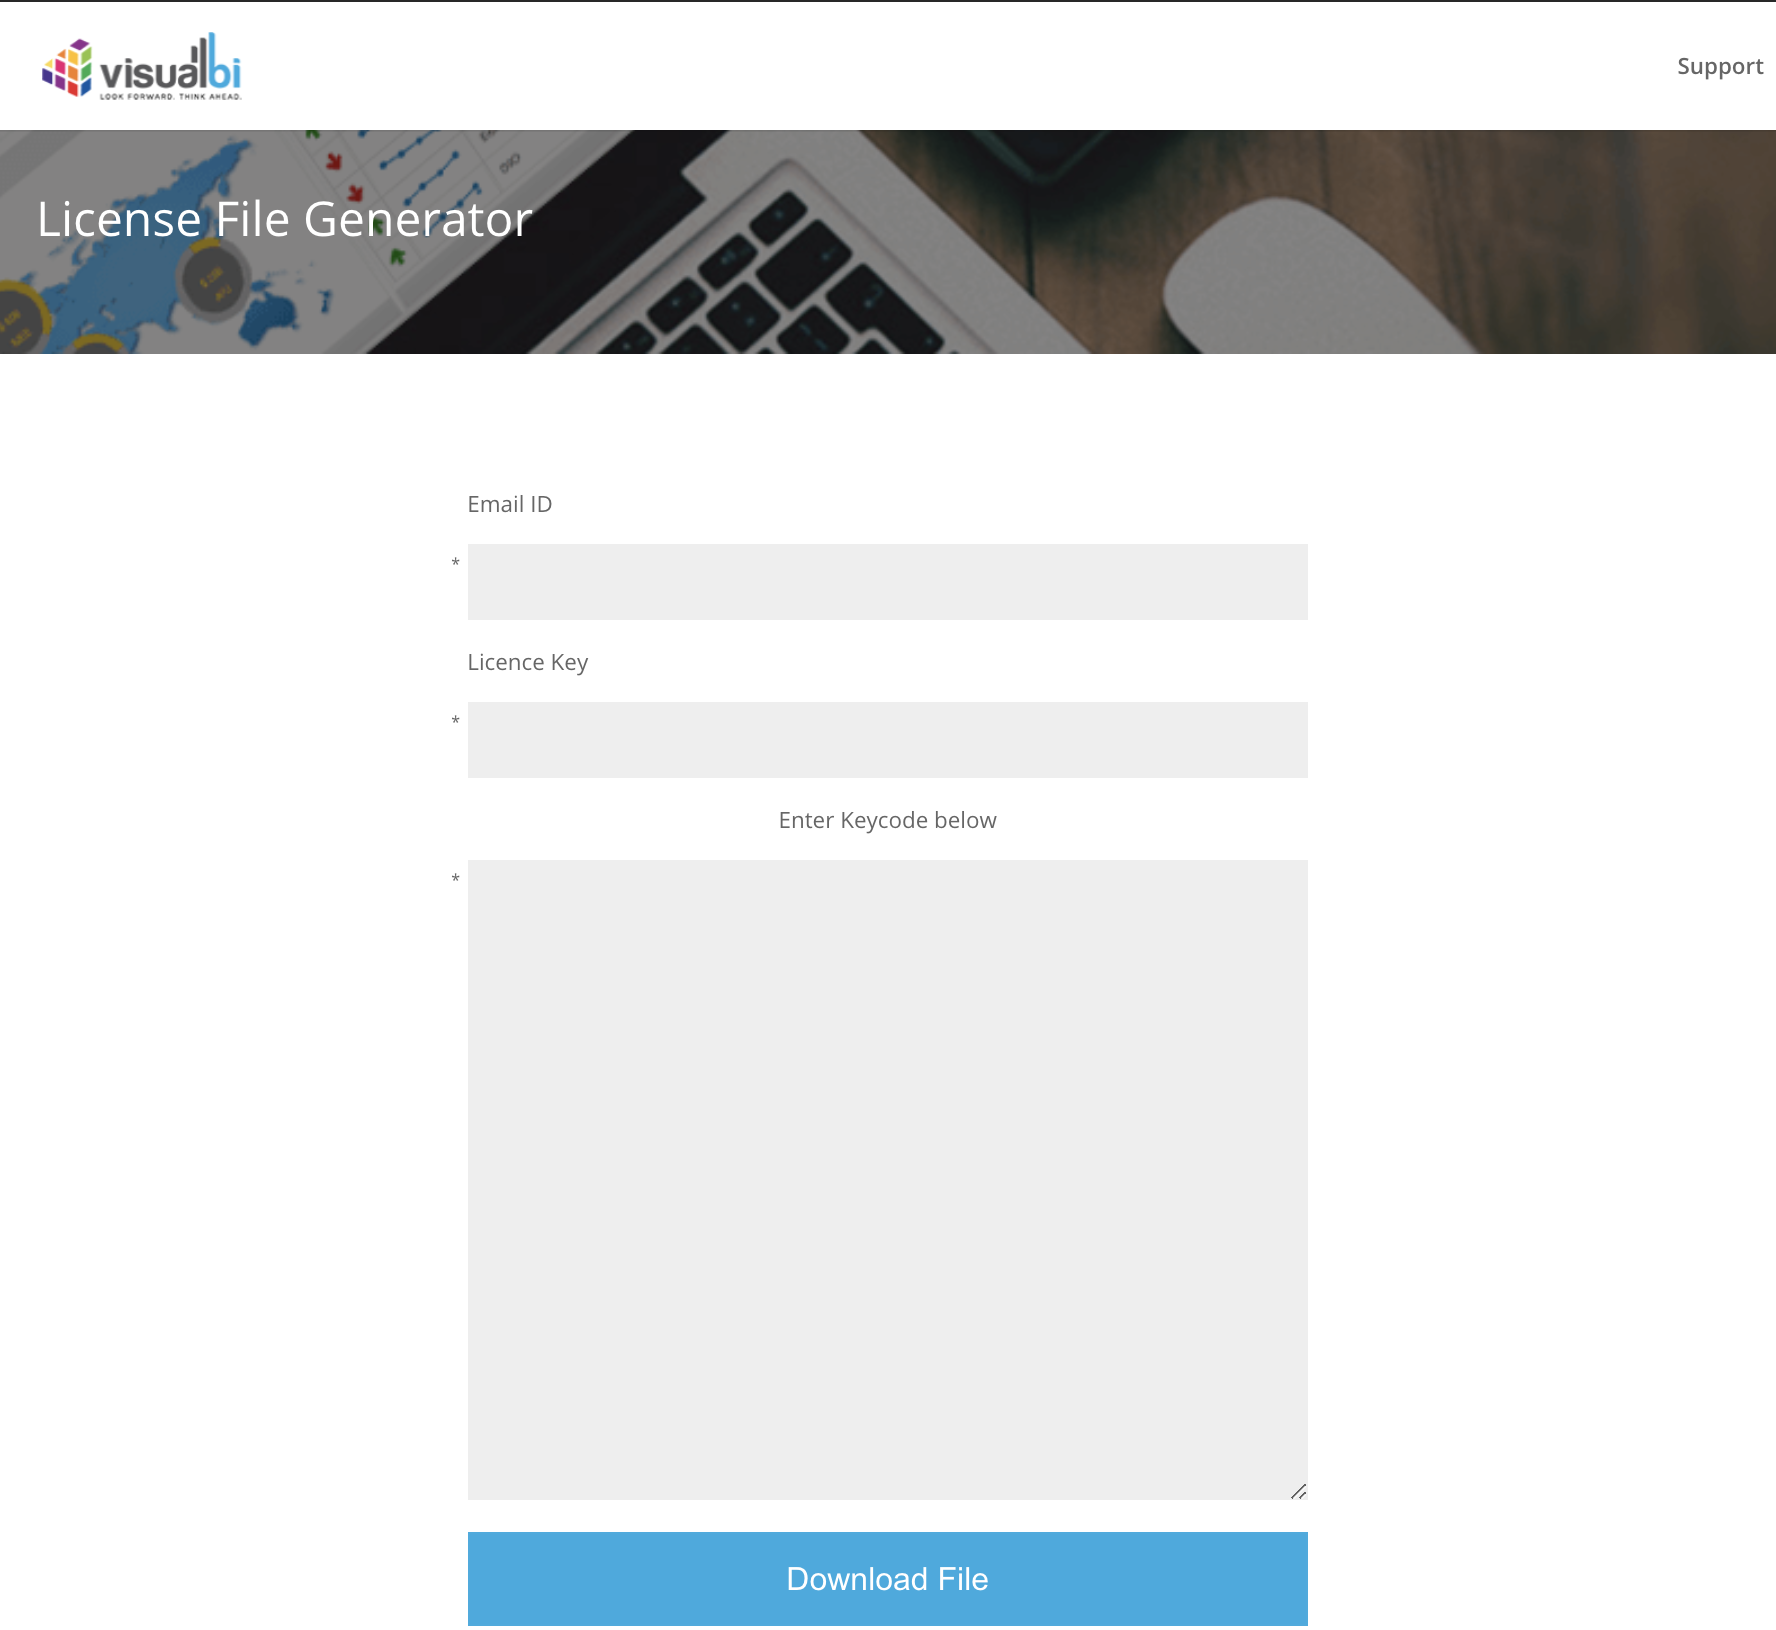
Offline License Generator Webpage
Click the Download File button that generates the
license.licxfile and prompts you to download the file on your system.Download the file and save it on the system where the installer is currently running and click Next.
Browse and select the correct downloaded license file (
license.licx).note
This file is valid only for the current installation, it cannot be reused for another fresh installation in another machine or same machine.
On clicking Next, the selected license file will be verified and on successful verification, the next screen is shown. Skip the next step and go to step number 13.
In the next screen, fill out license information in its respective box. On clicking next, the installer will try to activate your license with the information provided. On successful validation, the next screen is shown.
If the MySQL component is selected in Step:4, Enter the Port and Root user password details.
note
The Root password must not contain special characters such as '@'.
Enter and save the Elastic Search user details that is used to connect Elastic search with BI Hub Server.
In the Elastic Search Port Configuration, either use the default value or use the free ports. Save the details to be used in configuring the BI Hub Server.
Click Next to install the BI Hub Server with all the selected components.
After successful installation, the final screen provides options to Open Readme file and to Open BI Hub Server Configuration Utility. After viewing the readme file, proceed with the Configuration utility.
Click Finish with the required option.
✅ BI Hub Server is now installed.
Next Steps#
- Configure and start the BI Hub Server as described in the next section.