SharePoint Platform Configuration
Before we connect the SharePoint site to BI Hub, we need to set up the Sharepoint App and Azure App. Create the application Secret, and Configure the permissions.
SharePoint App Registration#
Go to the URL:
https://yourtenantname.sharepoint.com/sites/SiteName/_layouts/15/appregnew.aspx. Replaceyourtenantnamewith your name.Click Generate to get Client Id, and Client Secret.
Enter Title, App Domain, and Redirect URI.
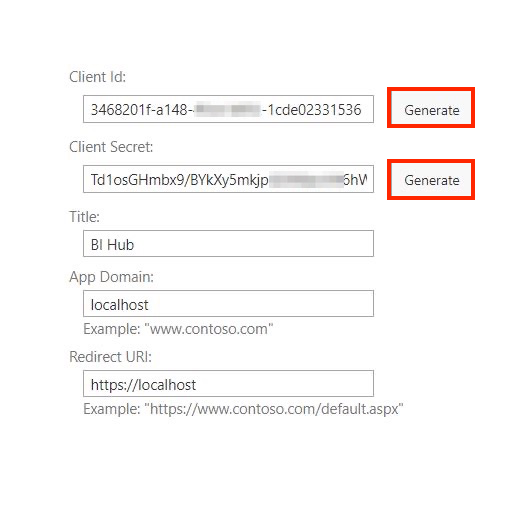
SharePoint App registration
note
Copy and save the Client Id and Client Secret to be used in further configuration screens.
Click on the appinv.aspx page (with which you can grant permissions to an app). The URL of that page will be similar to
https://yourtenantname.sharepoint.com/sites/SiteName/_layouts/15/appinv.aspx- Paste the Client Id in the App Id text box and click on Lookup. This will load the details of the app that we registered previously.
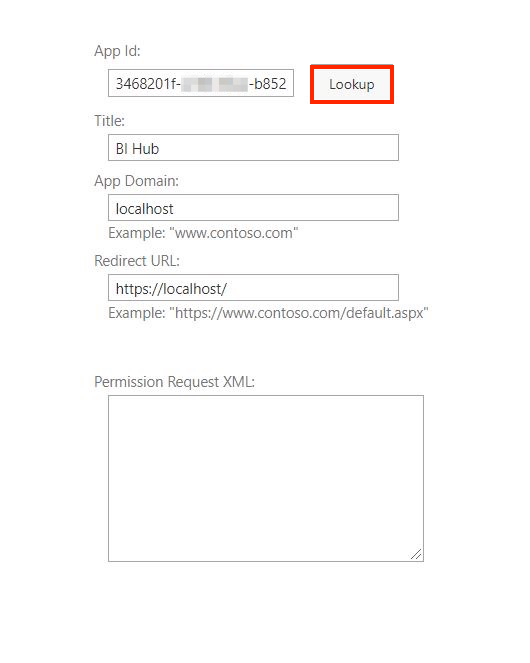
AppInv App Details
In the Permission Request XML textbox paste the following XML and click Create
tip
The XML provides full control to the app over the current web (this is the main permission required to configure the SharePoint agent)
note
If you want to provide different permissions, please take a look at this article by Microsoft.
In the next screen click on Trust It to allow the app to have the required permissions.
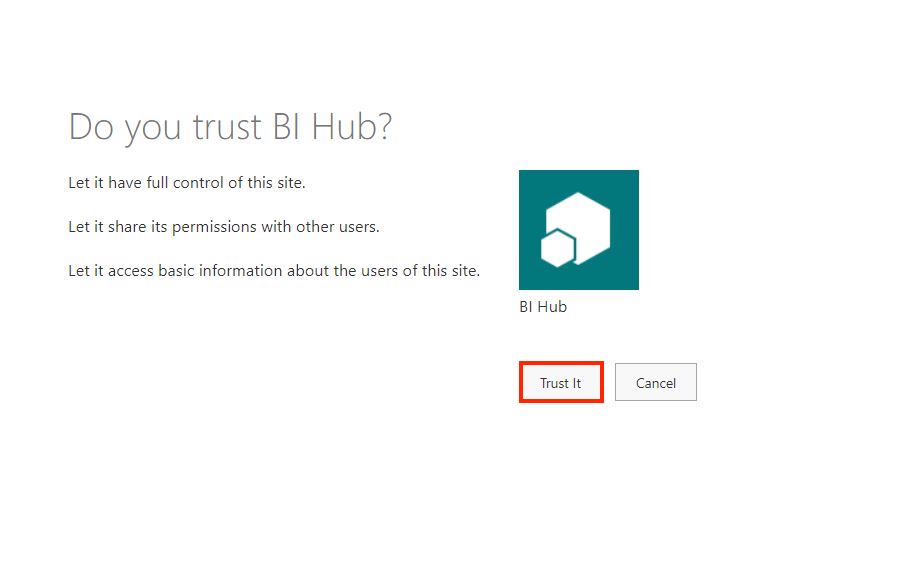
Allow required permissions to the App
Set up the application in Azure#
Go to https://portal.azure.com
Click on Azure Active Directory > App registrations > New registration.
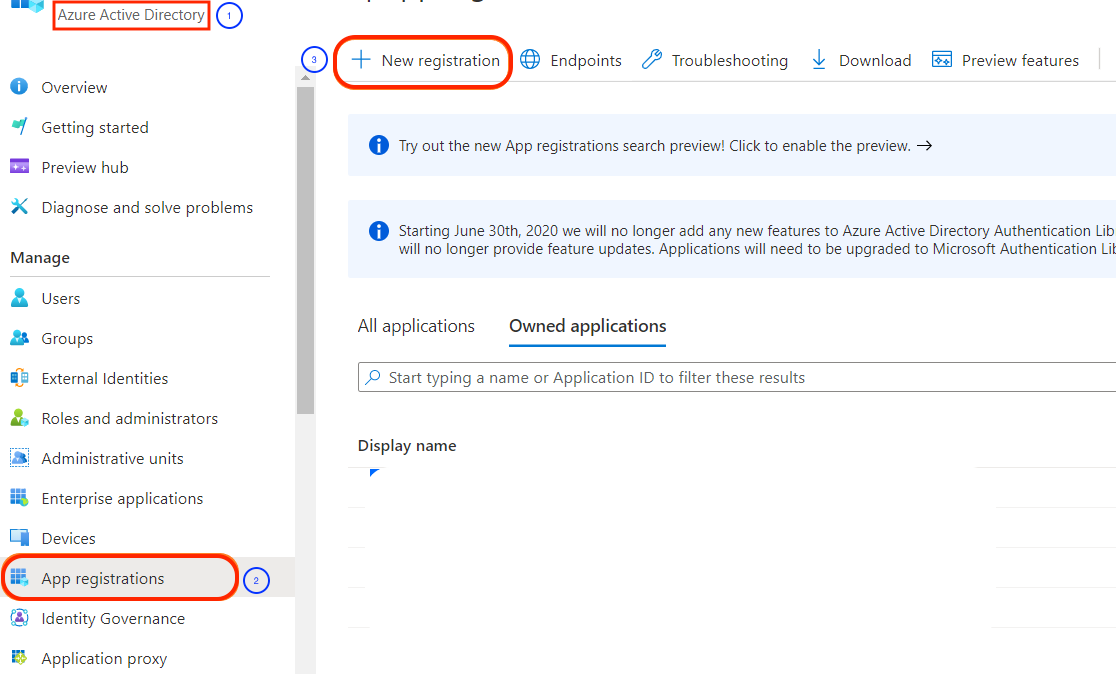
Azure new application registration
Set Name, Supported account types, and Redirect URI of the application:

Application Registration
note
The type should be Native and the Redirect URI must be formatted as: https://servername:port/Redirect.
- Click Register.
Note the Application (client) ID upon successfully registering the application.

Application registered
- Provide the Application (client) ID under the key userclientid in the configuration of SharePoint in BI Hub.
- Click on the newly created Application and go to Authentication.
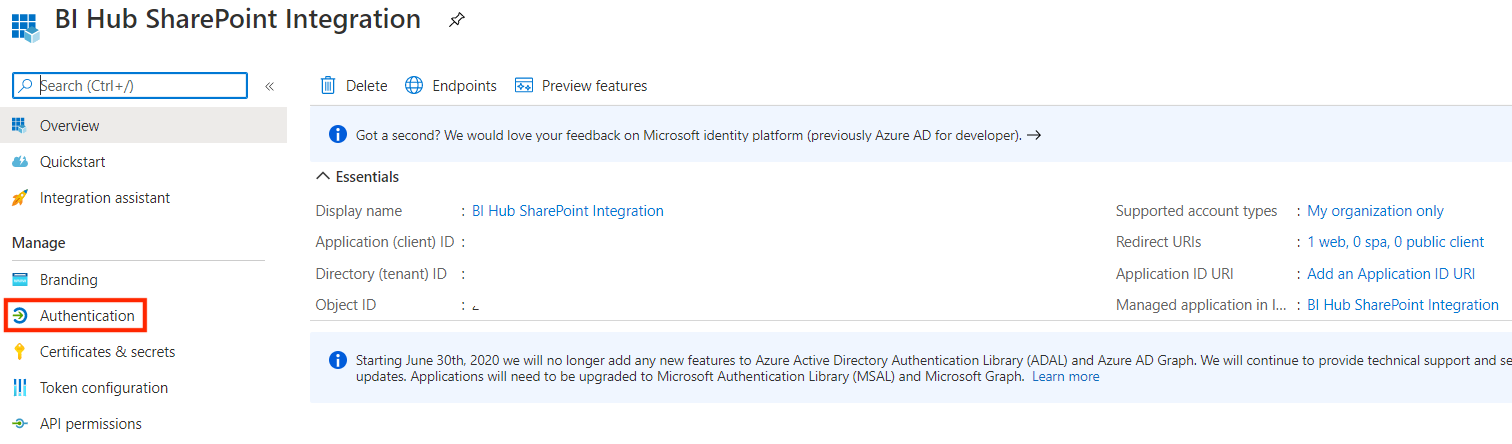
Authentication
- Select the tokens to be issued at authorization endpoints and also choose the supported account types.
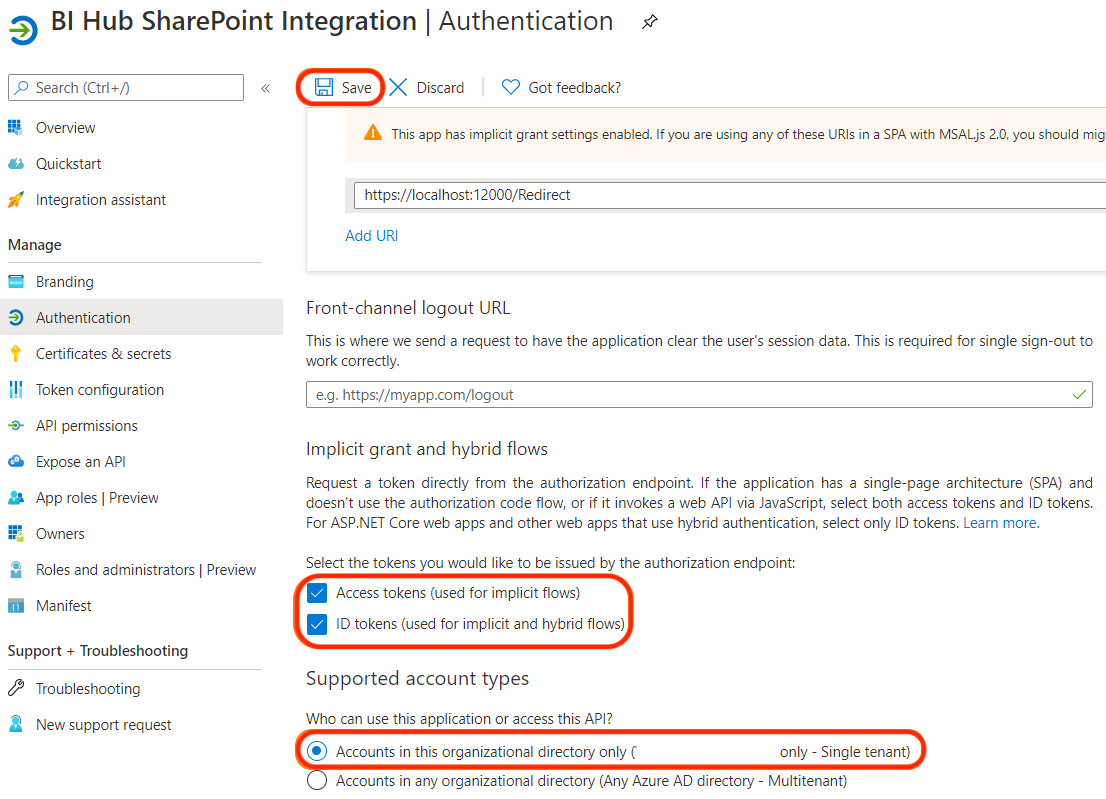
Authentication access tokens
Create the Application Secret#
Go to Azure portal > azure active directory > App registrations and click on your application.
- Navigate to Certificates & secrets and click on New Client secret to add a new key.
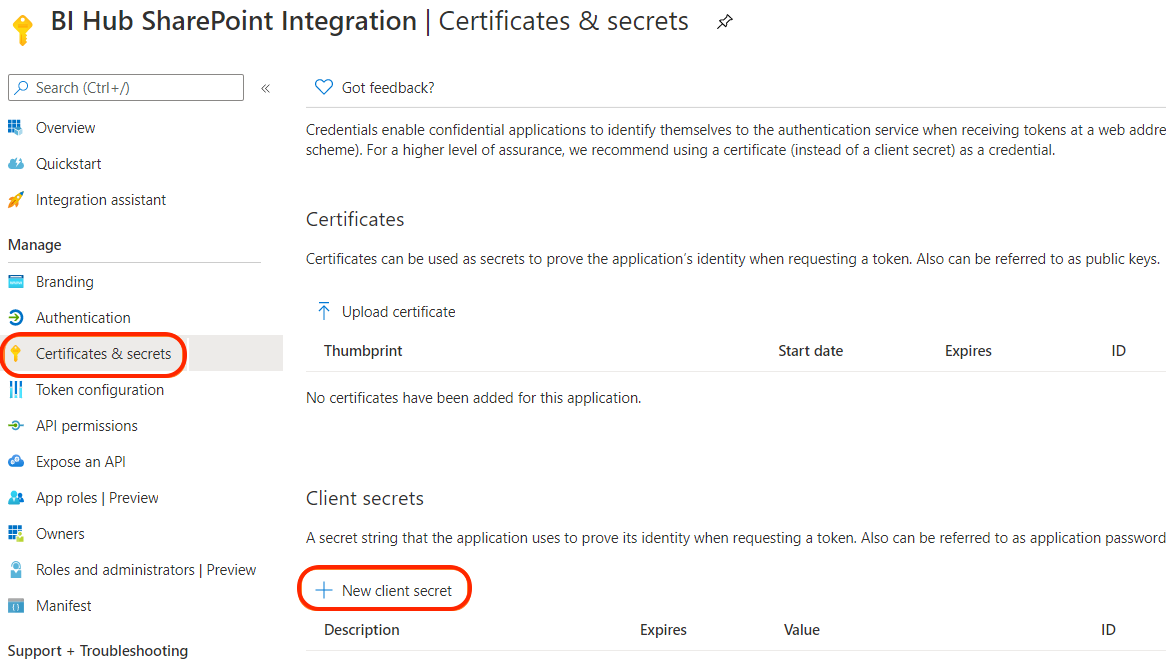
User client secret setup
Specify a Description and Expiry duration for client secret and click Add.
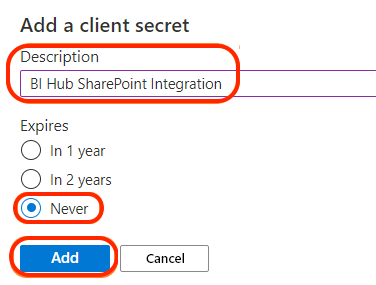
Client secret submission
The UserClient secret is added and the value is displayed. Provide this under the key "USERCLIENTSECRET" during the configuration of SharePoint agent in BI Hub
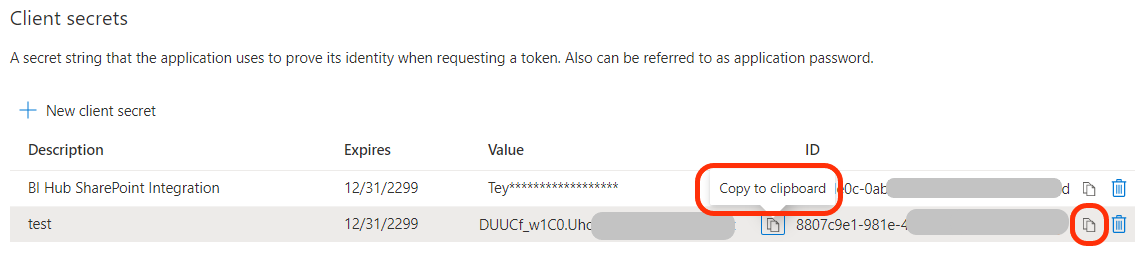
Copy the Client secret ID
note
Copy the client secret value. You will not be able to retrieve it after you perform another operation or leave this blade. If failed to note down the value, please repeat the step Set up the application in Azure to create a new key.
Configure permission for the App#
- Go to Azure portal > Azure Active Directory > App registrations.
- Click on your application and select API permissions.
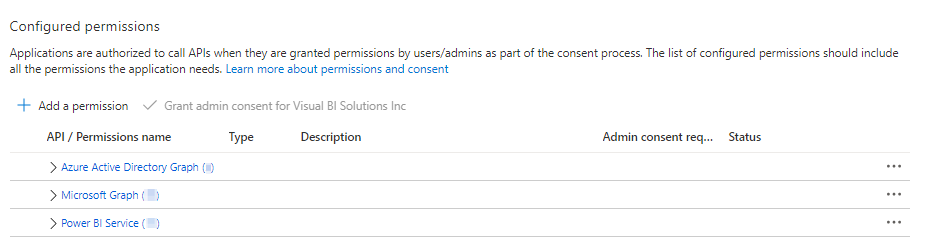
- Click Add a permission and expand Microsoft Graph.
- Provide the permissions for Sites.Read.All and User.Read.

Application Permissions configured
- Click Save and then click Grant Permissions to delegate the permissions to the service account.
Permissions granted
✅ SharePoint agent successfully configured.